Key Features
| Visual Interface
|


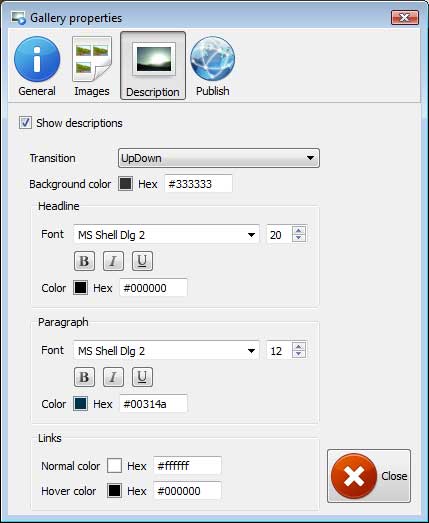
 . On the first tab of the Gallery Properties window you can change the name of your Wedding Slideshow Flash Fla and enable/disable the following properties: Shadow, Watermark.
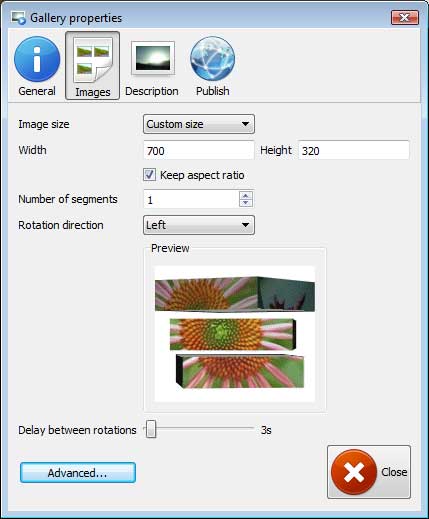
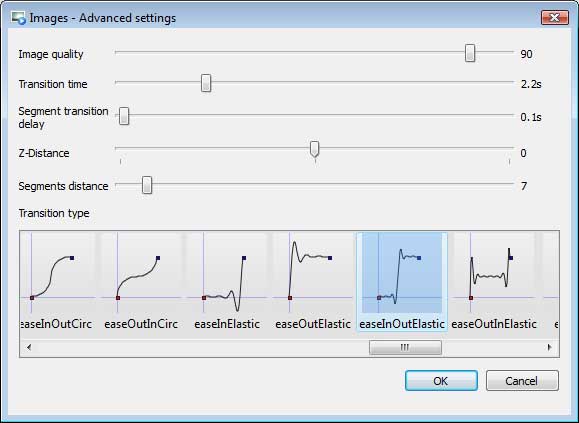
Up effect Down effect Left effect Right effect


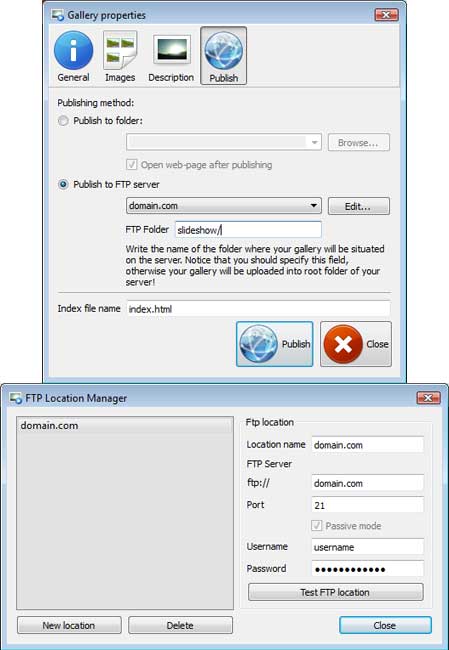
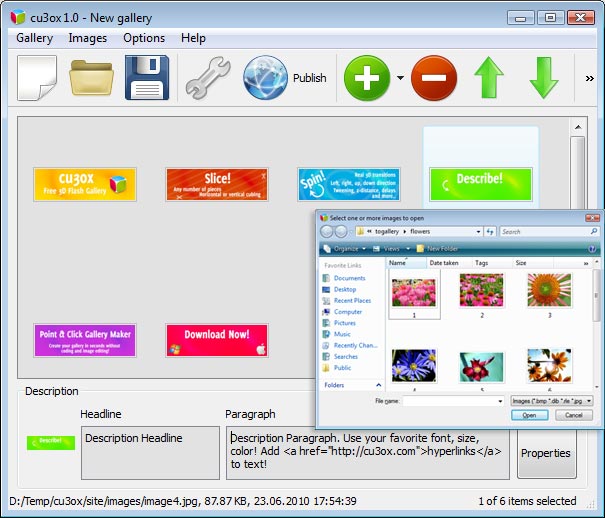
Notice: Write the name of the folder where your slideshow will be placed on the server. Notice that you should specify this field; otherwise your slideshow will be uploaded into the root folder of your server!
Flash Slideshow Builder Free Trial can be used for free for a period of 30 days.
If you would like to continue using this Xml Flash Gallery Open Source product after the trial period, you should purchase a Business Edition. The Business Edition additionally provides an option to remove the CU3OX.com credit line as well as a feature to put your own logo to images. After you complete the payment via the secure form, you will receive a license key instantly by email that turns the Free Trial Version into a Business one. You can select the most suitable payment option: PayPal, credit card, bank transfer, check etc. . Make sure to include details on your browser, operating system, CU3OX version and a link (or relevant code).Tifa Motion Picture Collection Flash Dl